
Intro to Lighting and Rendering
- Lesson 3-1INTRODUCTION TO 3-D (Terminology)
- Lesson 3-2ISOMETRIC DRAWING IN AUTOCAD
- Lesson 3-3WORKING IN 3 DIMENSIONS (X,Y,Z Axes, 3D Rotation)
- Lesson 3-4VIEWING 3-D OBJECTS (Perspective Views, 3D Orbit, DView)
- Lesson 3-5BASIC WIREFRAME MODELS
- Lesson 3-6LINE THICKNESS
- Lesson 3-7REGIONS AND 3-D FACES AND EXTRUDING
- Lesson 3-7aMORE ABOUT EXTRUDING & LOFTING
- Lesson 3-8REVOLVED OBJECTS - REVSURF AND REVOLVE
- Lesson 3-9ADDING MATERIALS IN AUTOCAD
- Lesson 3-10PRIMITIVE SOLIDS
- Lesson 3-11BOOLEAN OPERATIONS AND 3D EDITING
- Lesson 3-12CHANGING FROM THE WCS TO THE UCS
- Lesson 3-13MAPPING MATERIALS
- Lesson 3-14CREATING NEW MATERIALS
- Lesson 3-15EXTRA PROJECTS AND A TUTORIAL
- Lesson 3-16PUTTING IT ALL TOGETHER - MODEL A BUILDING
- Lesson 3-17INTRODUCTION TO RENDERING AND LIGHTING IN AUTOCAD
- Lesson 3-18CREATING ANIMATIONS IN AUTOCAD
- QUIZ FOR LEVEL 3 - 84 QUESTIONS
Topics covered in this Lesson:
An introduction to Lighting and Rendering in AutoCAD
If you have successfully worked your way through this level, you should be able to create some decent looking models in AutoCAD. The next step is learning to render them. This lesson will include a look at the new lighting and rendering options first introduced in AutoCAD 2007.
Looking at the image below (model from Lesson 3-16) you'll notice that it has a background of clouds, shadows and looks real (if you squint). You should already know how to create the model, view in a perspective view, add materials, map them and look at them in the viewport. The next step is to create lighting, add a background and render the scene out to a file.
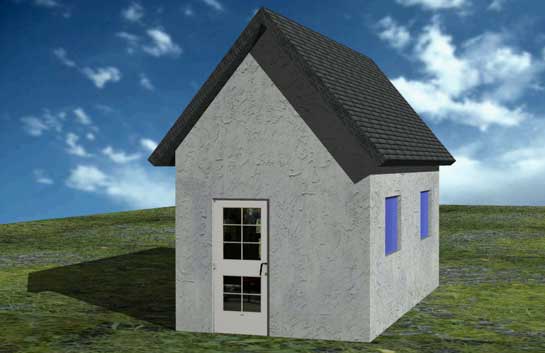
This lesson will use the house model as an example. If you didn't draw it (yes, you should have) here is file that you can download as well as the textures used.
| FILE | FILENAME | APPLY TO |
|---|---|---|
| Building drawing file | building.dwg | - |
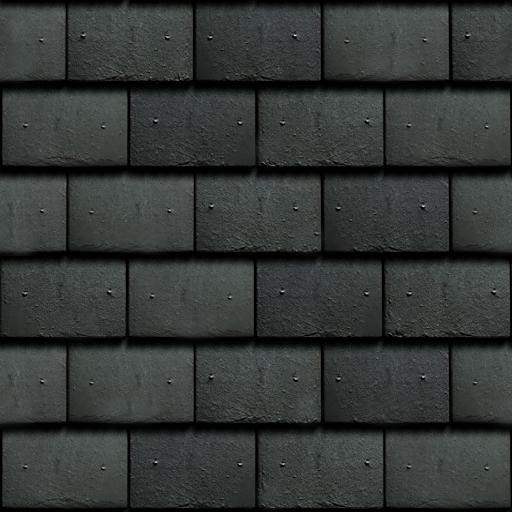
| Roof material | grey_roof_slate.jpg | Roof |
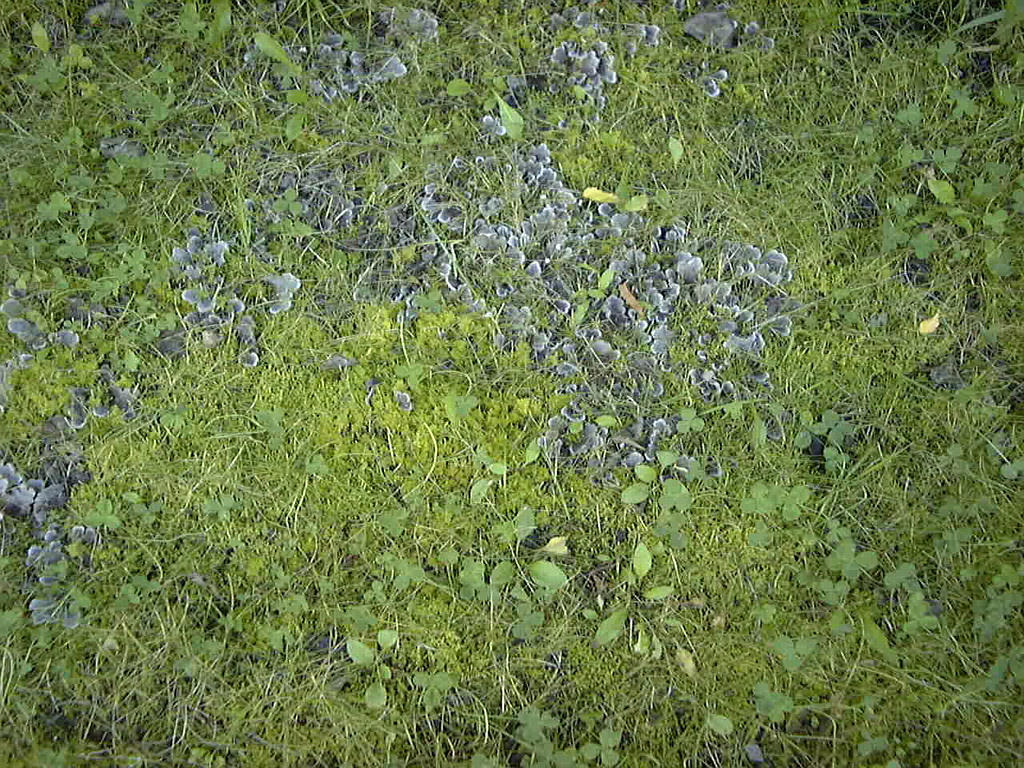
| Grass material | grass.jpg | Lawn Region |
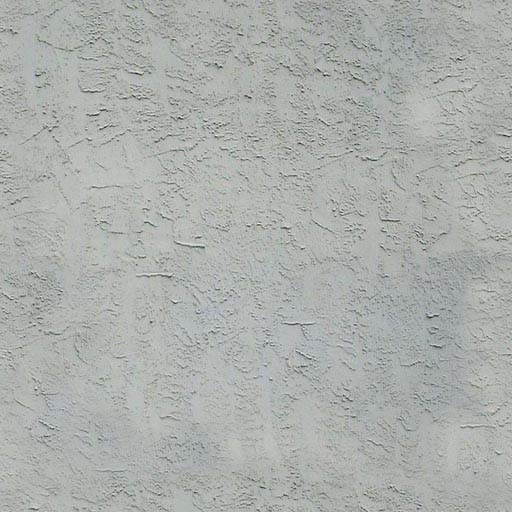
| Wall material | stucco_white.jpg | Building Walls |
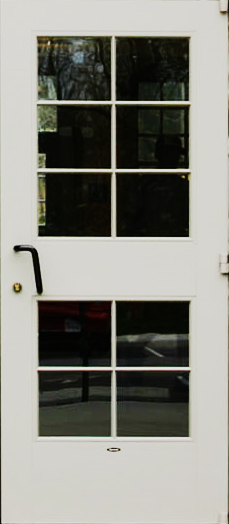
| Door material | door.jpg | Front Door |
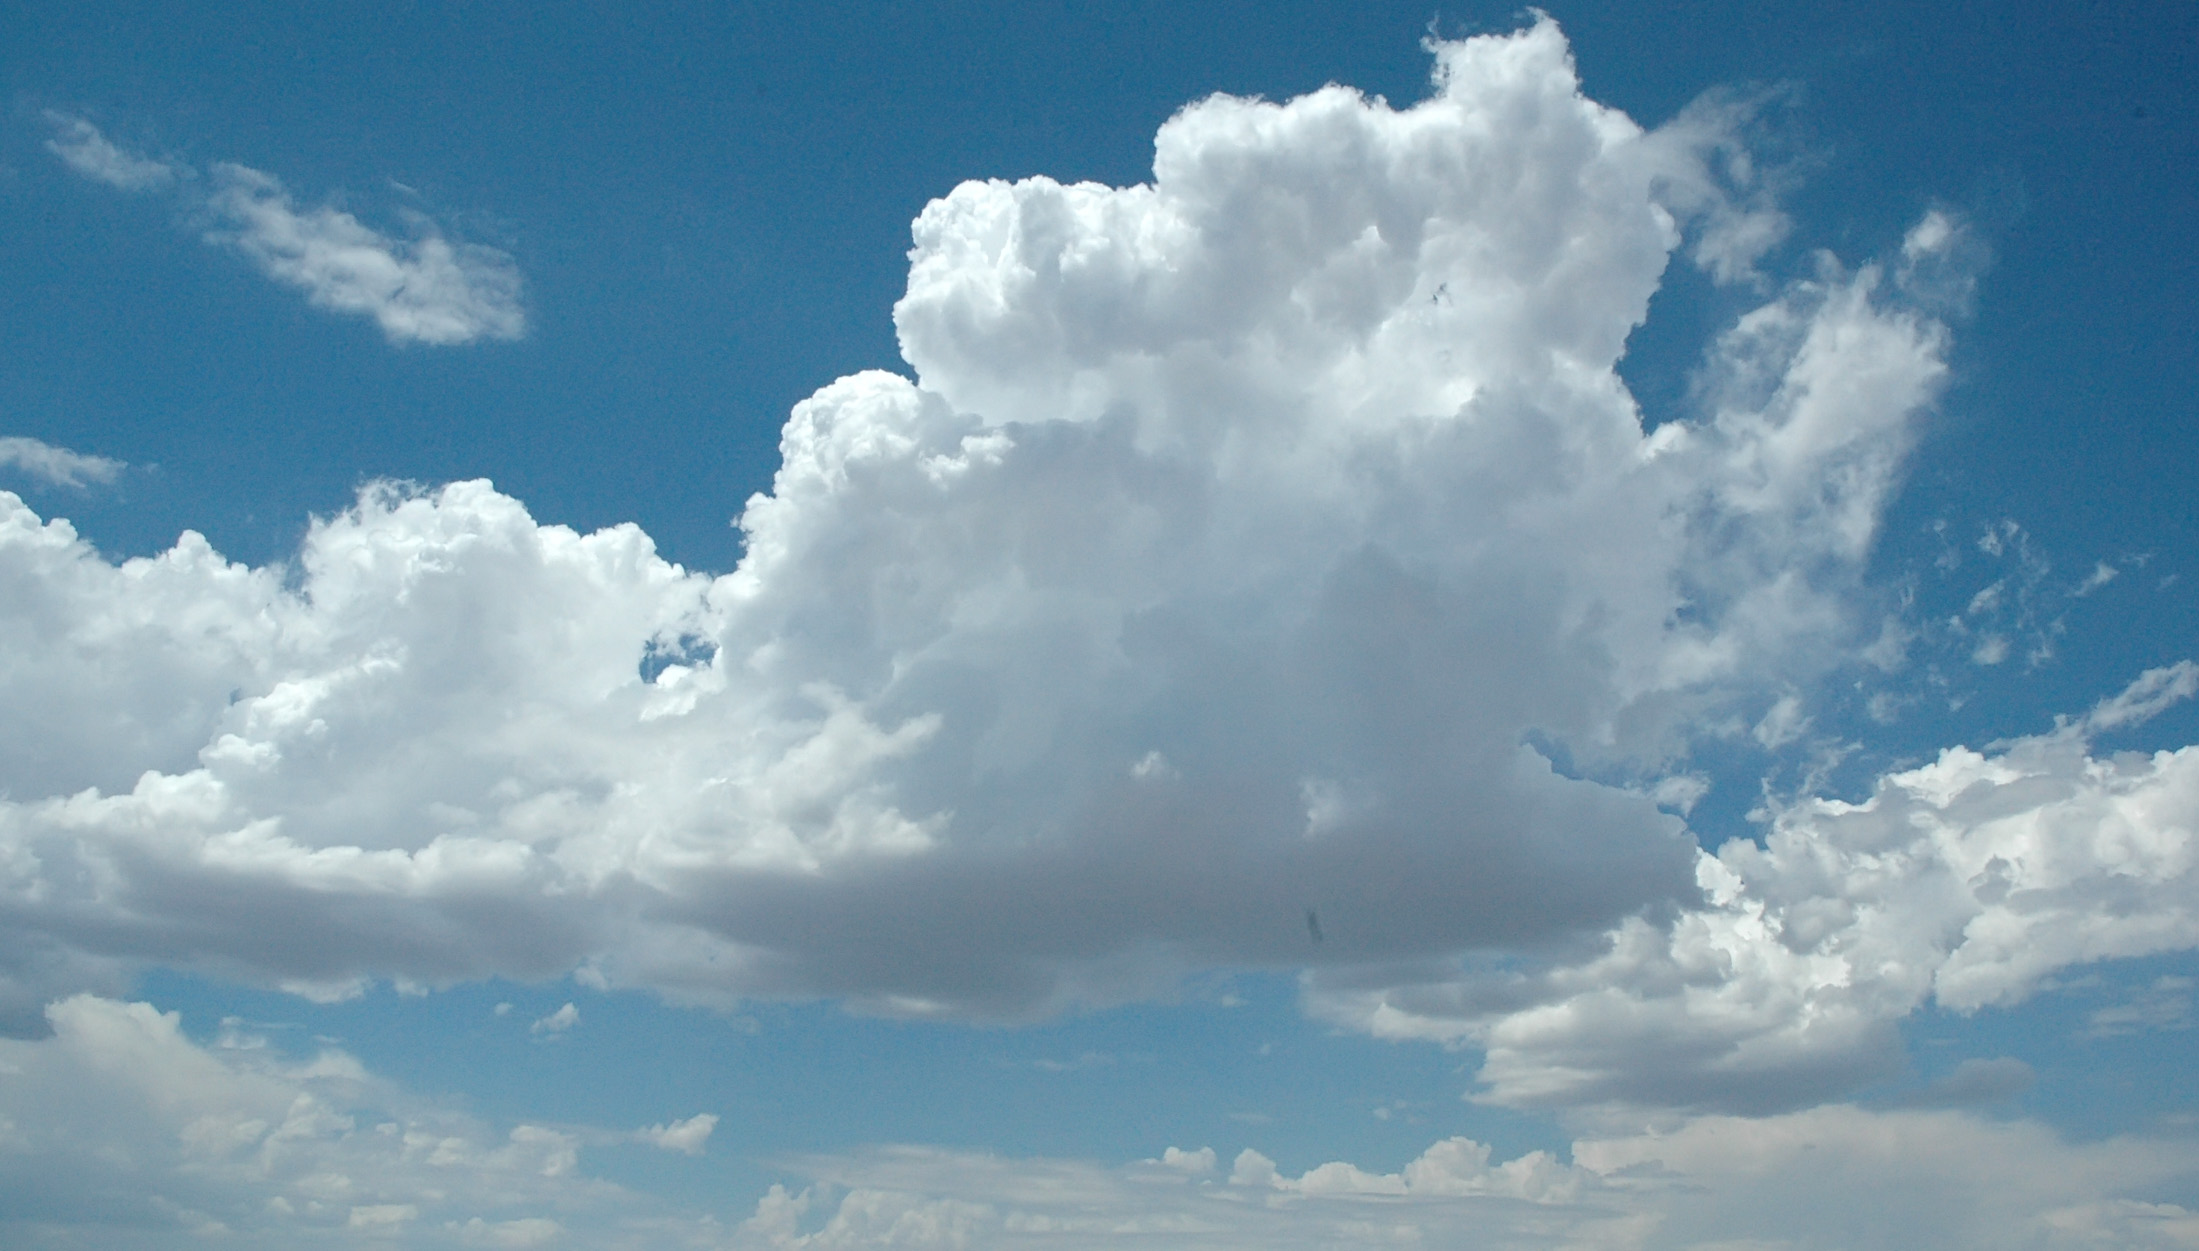
| Sky background | sky.jpg | Background |
Create the materials as shown in Lesson 3-14. Add a glass material to the windows from AutoCAD's material library, or create a new generic glass material. Use or create a concrete material for the sidewalk if you drew one. Alternately, you can use the materials from the default material library.
Apply the materials (Lesson 3-9) to the appropriate objects and map them as shown in Lesson 3-13.
Here's the drawing 'as-is' with the Visual Style set to Realistic - with materials added, but not mapped.

Note that it looks very rough at this point
Now with the materials mapped, it's starting to look more realistic:

Looking better, but not there yet.
Background
Next step is to add a background to the scene. To do this, you'll have to create a new view. Set up a perspective view similar to what's shown above (see Lesson 3-4) and name it using the VIEW command. The comes with a ready made perspective view (PERS). Click on this. Under the General settings, you will see one for Background. Select this and choose Image. This overrides other background settings used in other views.

In the next dialog box, click on Browse and find the sky.jpg file and select it in the next dialog, then select the "Adjust Image" button.

This will give you yet another dialog that allows to scale the image for the background. This is similar to setting your Windows desktop background. Choose Stretch in this example.

Press OK and OK and Apply and OK to get back to the drawing screen. If all went well, then it should look something like this:

Ok, not the best background, but you now know the concept and can try different image if you like.
So now you have the model, the materials, the mapping and the background. All that is left is some light and shadows. There are three types of lights in AutoCAD: Point, Spotlight and Distance. I'll show how each one is created and adjusted.
One form of a distance light is the Sun (most distance of all light).
To do this, type in SUNPROPERTIES or (menu: Render > Sun and Location). It will give you this palette:

This palette allows you to control the Sun. Yes, it sounds very powerful, and it is.
First you must turn on the Sun, if it isn't already. Then select the time and day sometime you like (in daylight).
To render the scene, type in RENDER. You should get something like this:

Now that you see how it works, you can try different settings. Earlier in the day should produce longer shadows than at midday. You can also control the sun from the ribbon (Visualize > Lights)
.gif "Sun Settings Ribbon in AutoCAD 2016")
The button the left for Sun Status will turn the sun On or Off (in the image above, it is on as indicated by the blue shading surrounding the icon). This is a quick way to work with the sun. You can also type in SUNSTATUS and give the variable 1 (on) or Zero (off).
Before adding the lights you want to change the background from the sky image to night. Instead of using another image, choose the gradient option in the View Manager > Select View > Background Option. Try to get a black to dark blue gradient. Try selecting the Three color checkbox for more versatility.

If you perform a render now, you will get a nice twilight background and generic lighting. The scene is still too bright for dusk, but we'll change that soon.

Spotlight
The next type of light to add is a spot light. We're going to add a safety light above the door for night time.
For something a little more dramatic, it's time to add a spotlight. This will be placed under the peak of the roof and point straight down.
Look for the Lights Tool Panel on the Render ribbon.
.gif "Create a light in AutoCAD 2016")
This is easy enough - just click on the button and you will have the choice of where you want your light and what direction you want to point it. In this example, pick the endpoint (osnaps) under the peak of the roof and point straight down to the ground (Ortho).

Once your light is placed, press <ENTER> to accept the default settings. Now select the light glyph and you will see the default spread of the beam that the light will cast. (You might want to switch to your SW ISO view first). Right click on your new light and choose properties so you can fine tune your light for rendering.
You change these later, but for now, set the Intensity Factor to 300 (higher number makes it brighter). Change the Filter Color to a pale yellow (this will simulate the yellow glow of a tungsten light). I like to set the Attenuation to "Inverse Square" as this is how lights work in the real world.
Note: When you have a drawing with a lot of lights, you should give each light a unique name to keep track of them. This is also done in the properties palette. Use the LIGHTLIST command to see a list off all lights in your current drawing.
Before you try a render, you'll want to turn off the Sun (if you haven't already) and then lower the Default Lighting (this is the ambient light that lights your scene). We want the Default Lighting to be low so it simulates night time and allows us to see our spotlight better. Default lighting is the ambient light that surrounds your scene. Try the settings shown below. Note: With Default Lighting, the lower the number you set, the brighter your scene will be.
.gif "Default Lighting in AutoCAD 2016")
Try a render now and you should see something like this:

If you click on your light and see the two cones radiating out from the light icon, you'll see the Hotspot (inner cone) and the Falloff (outer cone). You can change these settings to control your light even further. These are also in your Properties palette. These settings control how wide of an area is lit by your spot light. Try some various settings and render each time to see the effect of your settings. Note: Older versions provide grips on the spotlight object that let you adjust these settings.
Point Light
Another light option is a point light. Think of this a light bulb you would have in a lamp. Point lights radiate light in all directions evenly (unlike the directional spotlight). In this example, we're going to add a point light inside the building and let its light shine out the windows. We'll keep the twilight look.
From the same light tool panel that you used to place the spotlight, select Point Light and place inside the building in the larger room. Check from other views to make sure that you placed it correctly. You may find that you need to move it. Once you have it placed, perform a render.
You will probably find that the light isn't very bright. In fact it needs to be brighter to show through the windows. Click on the point light glyph and press CTRL+1 to bring up the properties palette. Start with an Intensity Factor of 6 and then start experimenting from there. Remember to render after each time you set it.

In the image above, you can see the I have changed the Intensity Factor to 6. This should make the light bright enough to be seen. Change this setting in your drawing and try another render.
Below is what I have after moving the view slightly (with 3DO) to show more of the ground where the light from the window hits.

Now that you have a decent looking image, you can try some more settings. try increasing or decreasing the Intensity Factor for the Spotlight. Try adding another point light inside. Remove the interior door to get light into the small room. Try adding a street light to light the exterior of the building a little. Add a Distance light off to the side and try different intensities. Yes, I know I didn't show you how to add a Distance Light, but I believe that you can figure it out now (distance light is the easiest).
To see how many lights you have in your drawing and access them quickly for changing settings, click on the bottom right corner of the Lights tool panel or use the LIGHTLIST command.
.gif "lightlist in autocad 2016")
Draw a light in the yard and add a point light where the bulb should go. Add some window panes to get more dramatic lighting.
The most important thing with lighting is to experiment. Try different locations and settings. Now that you know the basics, it's up to you to explore.
Render Settings
Now when you render a final image, there are many options available to you. Mostly it depends on the end use of the rendering. To adjust these settings, type in RPREF (Render > Advanced Render Settings...) to get this palette full of options.

To get a good quality rendering like the one above try the "Lunch" setting (it won't really take 60 minutes). Make sure that you have materials and shadows on. Render out to the window and choose the size that you want it to be. Once you have the setting you want, type RENDER again and view your results. If you like what you have done, you can save an image file from the render window.
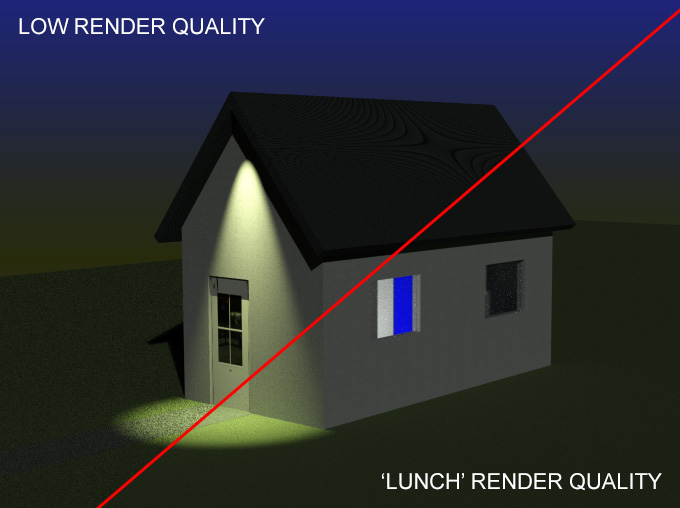
Note the difference between the two settings. Looks a the grass under the spotlight for a great example of how you can use "Low" to get a quick representation, but you want to use "Lunch" or better for a final rendering. The more complex your model and more lights you have, the longer your render will take.
Once you have a rendering that you are happy with, you should save it out to a file. Just click the Disk icon on the top left of your rendering window and save the image as a JPG.

That's the basics of rendering, practice with different settings and even experiment with light.
Once again, you have learned some easy tools that will allow to produce a good rendering of an object. Of course there are many variations and a lot of detail would go into a larger corporate presentation, but it only takes time, practice and experience.
Extra Practice: Many people will measure out their home or a room and model it and then render it. This is a great exercise. The more detail you add, the better your model will be. Also consider taking a photo of your wall or desk finish to make custom materials.
Extra Practice: Create a scene using your Lamp from Lesson 3-8 and the solid chair you made. Add walls, a floor and end table for your lamp. Create materials, map them and then add a Point Light to your lamp. Try to render the scene to be as realistic as possible.
Video: Lighting and Rendering
You Scored:

Fun fact: AutoCAD currently supports 16 languages from English to Chinese.
Please support
MyCADsite.com
Give a donation!
Donate

- To cover this months server costs
- Exceeding amounts will go to creating new content
- Even a penny will help
Did you like the lesson? ❤️